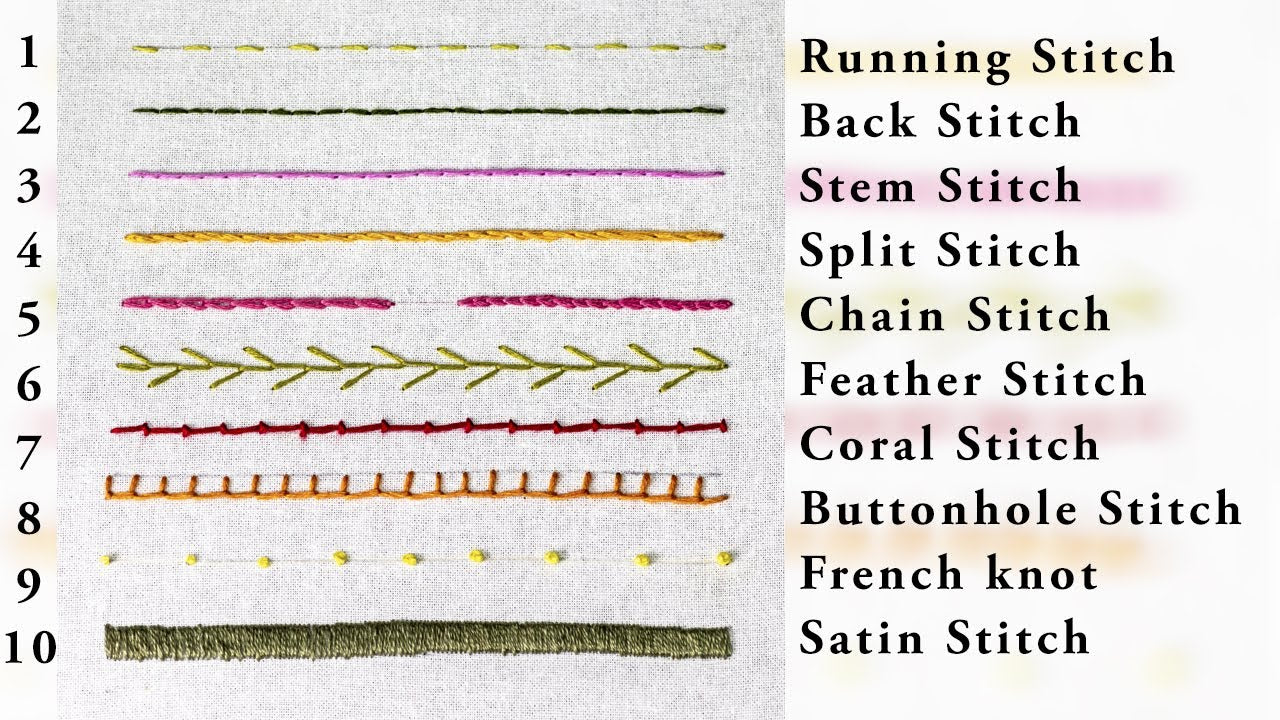
These techniques help you position fabric accurately before permanent stitching and improve the precision of your sewing projects. In this post, we’ll explore pin basting, tailor tacks, tacking, and essential hand stitches like knots and the double back stitch.
Get The Suplie List By Clicking Here

1. Pin Basting
What it is:
Pin basting involves using pins to temporarily hold fabric pieces together before sewing.
How to do it:
- Lay your fabric pieces together, right sides facing.
- 2. Insert straight pins perpendicular to the seam line every few inches.
- 3. Remove the pins as you sew to avoid breaking the machine needle.
When to use it:
Ideal for simple seams, quilts, or situations where you’ll machine sew shortly after.
Pros: Fast, Reusable, Great for beginners
Cons: Less secure than thread basting, Pins can distort delicate fabrics

2. Knot
What it is:
The foundational step for almost every hand-sewing technique.
How to do it:
- Thread your needle and pull the thread through until both ends are even.
- Tie a knot at the end (a simple overhand knot works) or wrap the thread around your finger and roll it off for a tailorable knot.
When to use it:
At the start or end of a hand-sewn line to secure stitches.

3. Back Stitch
What it is:
A strong, durable stitch that mimics machine stitching.
How to do it:
- Take one stitch forward, then come up one stitch ahead.
- Go back into the end of the previous stitch, overlapping slightly.
- Continue—always going forward, then back into the previous stitch.
When to use it:
For seams that need durability (e.g., repairs, tight spots where machines can’t reach).
Tip:
Use even tension for a neat, straight line.

4. Double-Stitch Tailor Tack
What it is:
A thread marking method for transferring pattern markings (like darts or pocket placements).
How to do it:
- With the fabric still pinned to the pattern, take two small parallel stitches through both fabric layers at the marking point—leave long thread tails.
- Cut the threads between the fabric layers, gently separate, and snip.
When to use it:
When markings need to show on both sides of the fabric.

5. Single-Stitch Tailor Tack
What it is:
A simpler version of the tailor tack, using one stitch per marking.
How to do it:
- Insert one stitch at the mark through both layers and leave long loops.
- Cut the loop between layers and separate gently.
When to use it:
For quick, light markings where double stitching isn’t necessary.
Get The Suplie List By Clicking Here

6. Even Tacking
What it is:
Basting with uniform stitch lengths on both fabric sides.
How to do it:
- Use large running stitches with even spacing and length (e.g., 1/2” in and out).
- Keep the needle motion consistent and smooth.
When to use it:
To temporarily hold seams, pleats, or darts in place.
Tip:
Ideal for symmetrical work like seams and hems.

7. Uneven Tacking
What it is:
A running stitch where the stitches are longer on the top side than underneath.
How to do it:
1. Make stitches about ½ inch long on the top and just a short “bite” underneath (1/8”).
When to use it:
For quick basting or areas not visible from the outside.

8. Slip Tacking
What it is:
Invisible basting used when you don’t want stitches to show on the outer fabric.
How to do it:
- Take small bites of fabric on the inner fold.
- Keep the thread almost hidden within the seam allowance or fold.
When to use it:
For hems, linings, or delicate fabric handling.

9. Vertical Diagonal Tacking
What it is:
Basting stitch placed diagonally across vertical seams or garment sections.
How to do it:
- Stitch diagonally across the fabric in vertical rows.
- Ensure consistent slant and spacing.
When to use it:
To hold vertical panels, darts, or pleats in place.
Final Tips for Success:
Use contrast thread so basting is easy to spot and remove.
Use a sharp needle and lightweight thread for tailor tacks and slip basting.
Always remove basting stitches after permanent sewing is complete.
If you're constructing a couture gown or simply hand-hemming trousers, understanding and using the right basting technique can take your sewing from frustrating to fabulous.

Комментариев: 0